
Integrating an interactive image on your website is very simple using SlicPix. Simply follow the steps below:
Step 1: Log into your SlicPix account at studio.slicpix.com
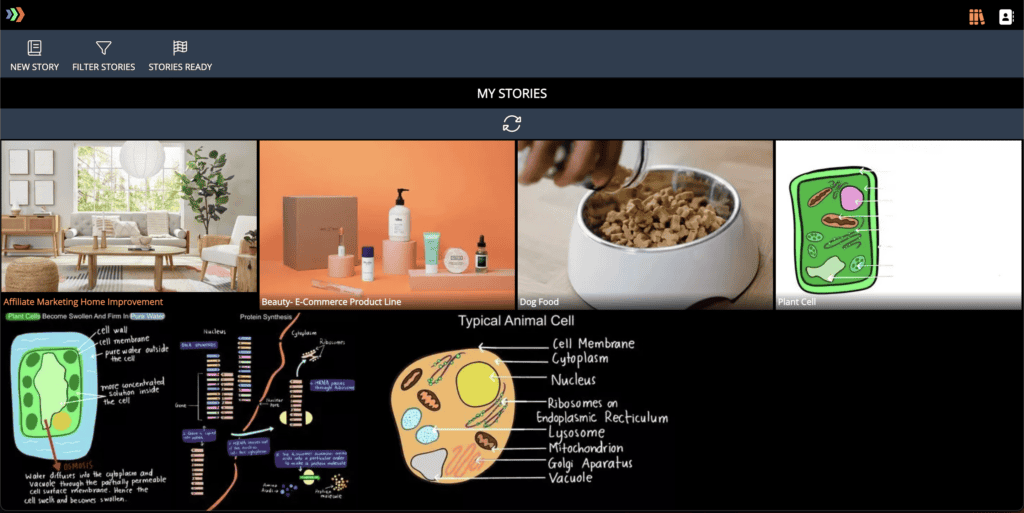
Step 2: Go to ‘My Stories’ and click on the interactive image you would like to embed.
Step 3: Click on the ‘Story Ready’ button

Step 4: Copy the Story ID

Step 5: Navigate to the Domain page
Step 6: Click on the domain you would like to add (Here is a tutorial on how to add a new domain to SlicPix if you are not familiar with this step)
Step 7: Create a new plugin
Step 8: Add the necessary information for the plugin. This could be describing the core purpose of the interactive image for better organization.
Step 9: Add the code here in your website’s head between <head> and </head>
Step 10: Add the code here on the page where you would like to add the integration.
- If you are using the Gutenberg editor in WordPress, this can be done simply by using the custom code block.
- Please note that for the code above, the value for data-spix-member would be the name for your space on SlicPix (please get in touch if you are having trouble with this), and the value for data-spix-id would be the plugin ID that you have created under the domains page in the SlicPix studio.
Once all the steps above are in place, your interactive image should be live!